Pages

Saturday, February 8, 2014

It's a Bathroom Demo!!!

Not that the winter months are gloomy enough, welcome to our bathroom. You've seen pictures of it before when we first bought the house. How do my husband and I bond? We start ripping apart things that seem like they may be an easy fix to find that the work is more extensive. This turns into frustrations, which turn into arguments. But I have to say, we've gotten to a point in our relationship where one of us just walks out of the room for a few minutes to cool down. Welcome to an adult relationship.

Ok, so the tile on the floor isn't all that bad. I can live with or without it but notice the tiling on the walls, which extend all the way throughout the bathroom and even in the shower. It's dull, it's boring, and its a pain in the butt for me to clean.
The wood on the ceiling? Ok, we can handle that. It's actually quite nice, giving the room a spa like feel but the cedar extending on the top part of the bathroom? Who does that? It makes the room dark and dank and it's not even sealed. So every time we take a shower, moisture gets trapped in them creating mold and mildew. I don't know about you, but I don't really want to be breathing that stuff in any more than I have to.
I do have to say I was quite afraid of what we would find underneath those panels.
Luckily, we aren't putting our house on the market in one month like the last one so we don't have to rush, we can do everything right aaaand we get to choose fixtures that we like.
Our goal? Add a little more light and appeal to our only bathroom to not only increase the value of our house, but make it a little more welcoming when we have guests over.
Soooo..here goes phase 1:
 Remove first layer: cedar wood paneling. Oh, look how pretty that is, NOT! Who chose this wallpaper? And look at the yellow staining on it. no wonder they just chose to cover it with wood paneling.
After removing the wallpaper, we discovered the wall is plaster and where the mirror was was a blocked off area where I'm guessing a medicine cabinet had been before. We were kind of hoping to find some secret treasure especially since in our last house after knocking out a crappy built in bookcase we found a bunch of creepy childrens toys and vhs tapes..but of course we weren't that lucky. 
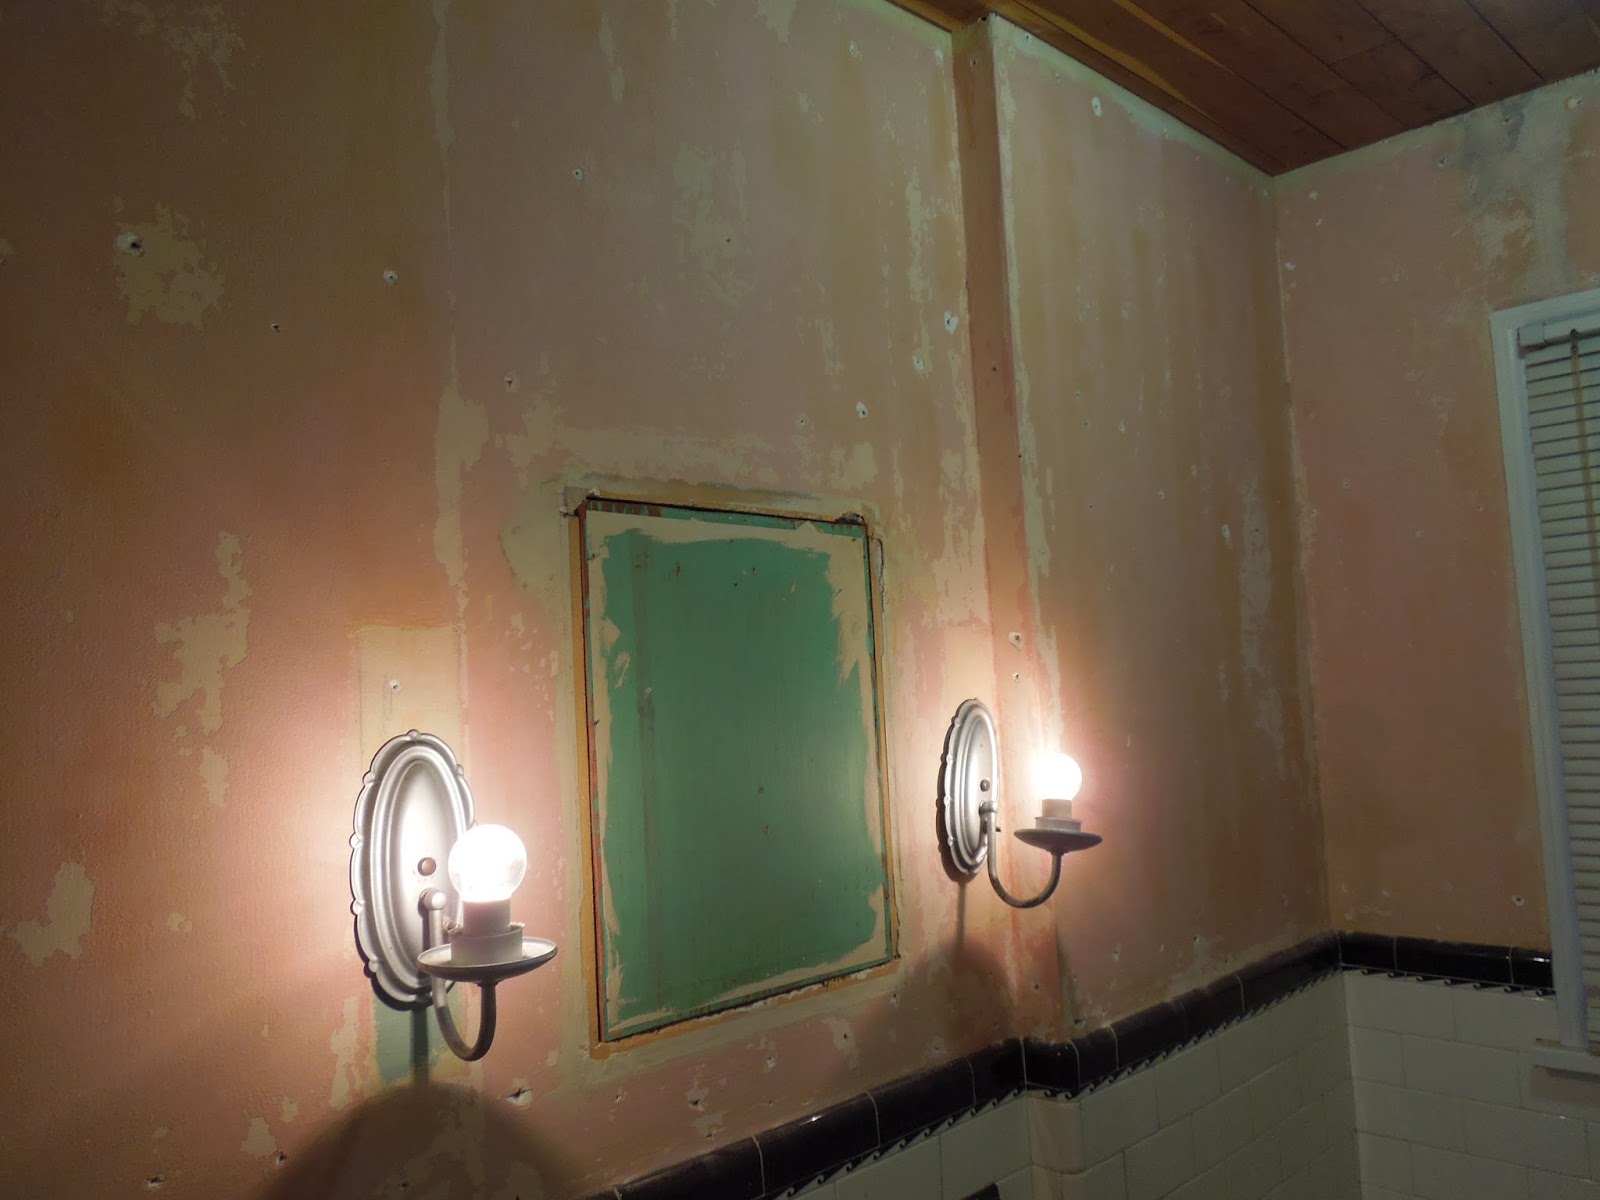
Now our bathroom looks even creepier than before...It looks like a room out of a really sketchy cheap hotel room.
Next, we pulled the remaining nails out and lightly sanded. Then came the spackling. Than the sanding. And then more spackling...and more sanding.
We put one coat of primer up, removed some of the wall tile to see what was behind it, and are calling it a day.

Sunday, December 29, 2013

Paint Color Samples

For all of those wondering how much wall one small color sample will cover, well here ya go!
Our next project is the living room. We want to have an accent wall where the fireplace is, and the rest of the room will be some other complimenting lighter color.
For the Behr color samples, you get about 7.25fl oz or 215mL's. The Lowe's color samples will give you a little more (7.5 fl oz).
Here is the before:
 
And here is right after I finished painting. Because the wall is already grey, I will literally only need to roll on a light coat over it. So, under 10 bucks to paint an accent wall? I'll take it!

 
More to follow
 

Ready for a New Year

First of all, let me say that this blogger is making me irate because I started typing and when I went to add a picture, it decided nope, I'm just going to make your computer freeze and not let you do anything each time you click on this logo. Perhaps they are working on something? Anyways, I'm going to continue to write this and add in pictures as soon as it lets me..

     Before the new year begins, I figured I should at least update this at least once. To be completely honest, I have been becoming so drained from my job it makes it hard to motivate myself on doing anything around the house. I know it's not an excuse to slack off on the home improvement area ( not that I gain or lose anything from not doing anything), but sometimes making changes to your surroundings improves your mood and makes you motivated to continue onto other projects around the house.
     We wanted to start off slow and ease our way into putting our own personal touches on the house. The dining room seemed to be the way to go. Why? Well, because we have never had a dining room therefore, we had no furniture making it just easier to work on.
     After you have decided on what room you want to give a facelift to, you need to decide on what color you would like. If you have no idea or are completely new to the world of painting, an easy thing to do is to go to Google and type in "dining room" or whichever room you are interested in. You will get a wide variety of images at the tips of your fingers.
This is what we wanted to do:


     Go to Lowe's or home depot and spend the 2 bucks on color samples. Believe you me, the colors on those swatches are almost never ever even barely remotely close to the actual samples you paint on the wall. Take for example, the following pictures followed by links to the swatches and judge for yourselves.
Left: Behr: Oriental Eggplant
 
Middle: Martha Stewart: Eggplant
 
Right: Behr: Deep Aubergine
 

On the left is Valspar: Purple Prickly-Pear:
 
On the Right is Martha Stewart: Eggplant:


     After playing around with the two colors that we thought we would use, we thought that both hues of purple would darken the room. We decided we would like to use a lighter cream color on the bottom and add in chair rail. These colors remind me of Monet's use of color in his water lily paintings which I absolutely loooove.

     The ceiling also had to be repainted. I chose a very light color, it was almost white with a splash of purple in it. By doing this, it seems that the light reflects better in a way that makes the room look lighter than it really is.


    That ugly plastic stained glass looking light fixture? Gone! And replaced with a much more modern brushed metal fixture.


     I got the curtains from Bed Bath and Beyond on clearance for 50 bucks (originally $50 for each panel). The curtain rods are from hobby lobby. They were $25 total.


     The final step will be to install crown molding. Unfortunately, the hubby's truck needs a new starter and is stuck in the garage so that is going to be put on hold for now.


Monday, September 2, 2013

Finishing our Platform Bed

I know that it has been quite a while since I last updated but with it being busy season at work, I really haven't been up to working on many projects let alone have the time to sit down and write in my blog.
We did finally finish our platform bed for our master suite upstairs =)
On my last entry regarding the platform bed, I led you all up to step 4 but we couldn't very well assemble the base of the bed until after it had dried for a day or two.

After the 2 x 10's have dried, you can assemble them. To add extra support to them, we decided to add some bracing at the corners.

 
We used two wood screws at each corner to put the base together.


After all of the boards were held in place, we added some extra bracing with wood for more support.


The second level is going to be pretty much the same idea as the first level, except we used 2 x4's, which are going to be larger. We used the dimensions of a king size mattress and added 1/2 an inch to each side.
 
After finishing the second level, we placed that over the base. The outside edges were stained and polyurethane was applied and let dry.

\
Finally, mdf board was cut and secured into place.

 
Well there you have it. Our very own platform bed. We decided to use a memory foam mattress in place of a regular mattress.
 
And here is a random picture I took while we were at the zoo because I was testing out my new camera.


Sunday, July 7, 2013

Using Chalk Paint

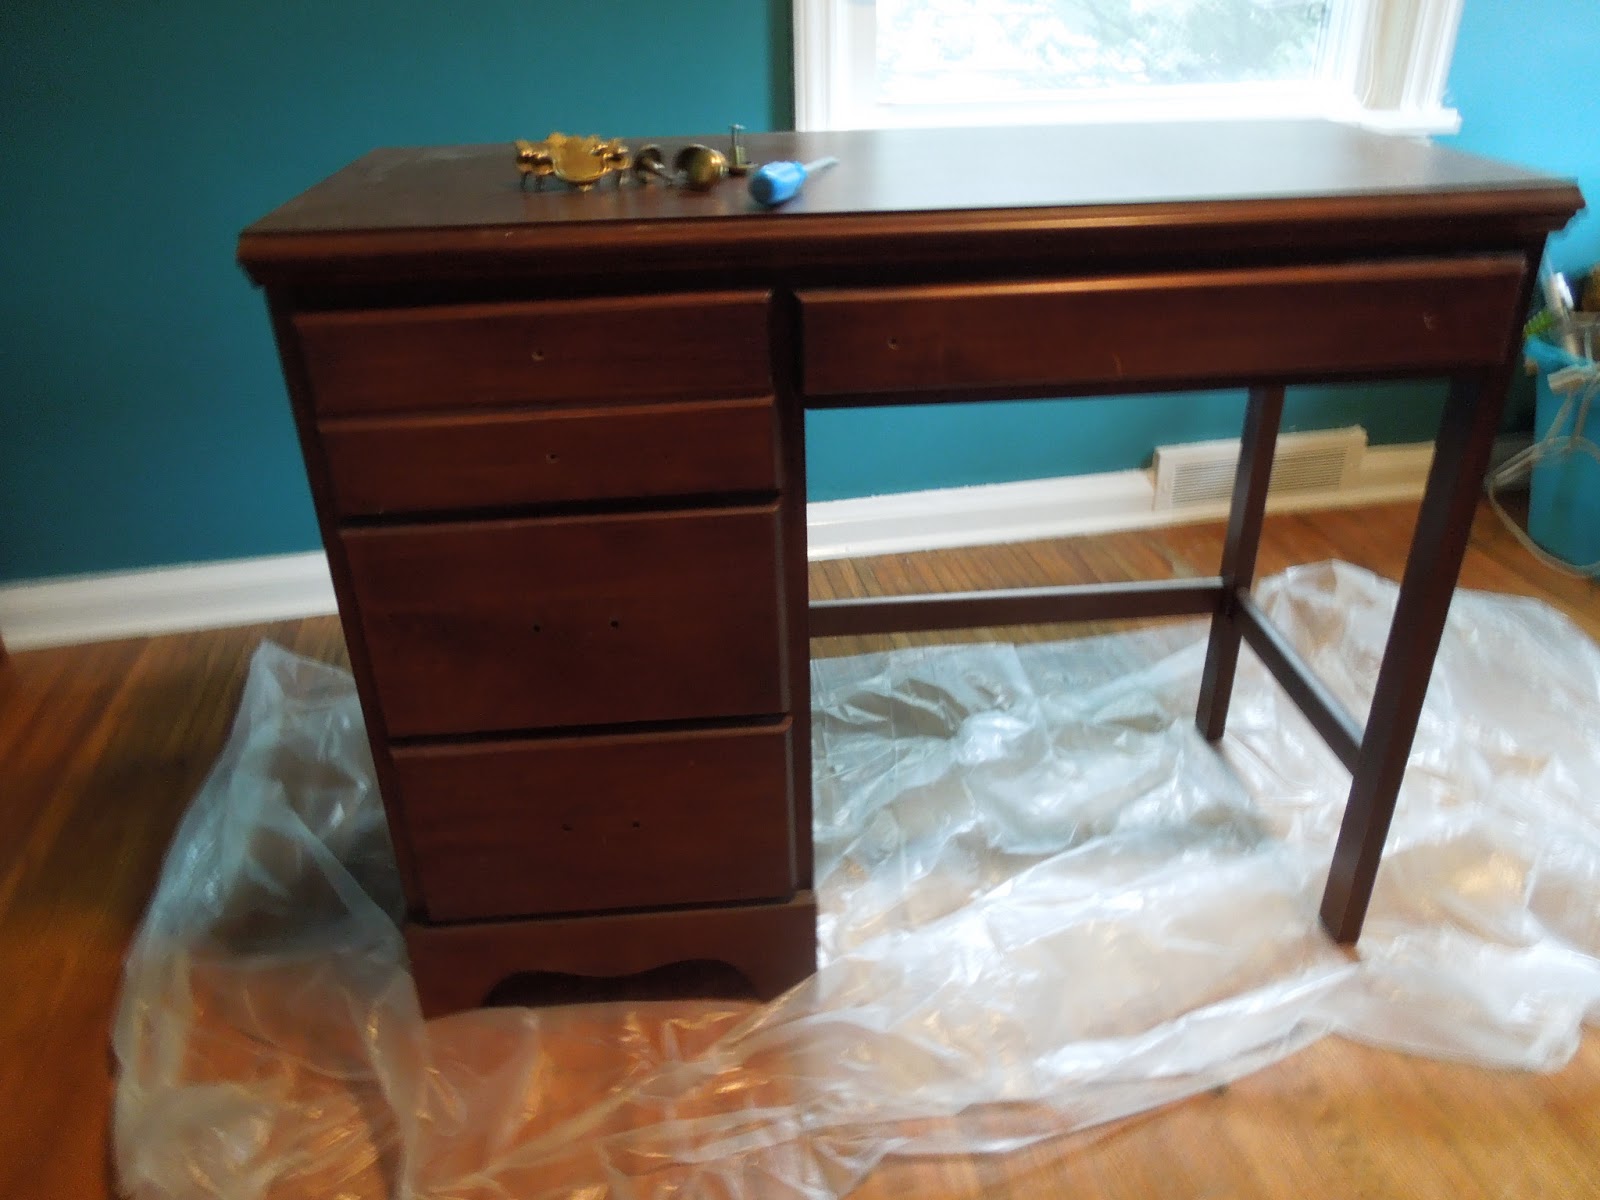
                   For the past week when I have not been working, I have been working on a little side project. I have been refinishing an old desk of mine with chalk paint. If you have never heard of chalk paint before, don't feel left out. I recently have discovered it when my husband and I went to an antique co-op where one of the vendors was displaying it and some pieces she had refinished with it. Immediately I started looking at furniture in a whole new light. You can purchase the chalk paint for 30 bucks a quart or you can make it yourself which is half the cost.
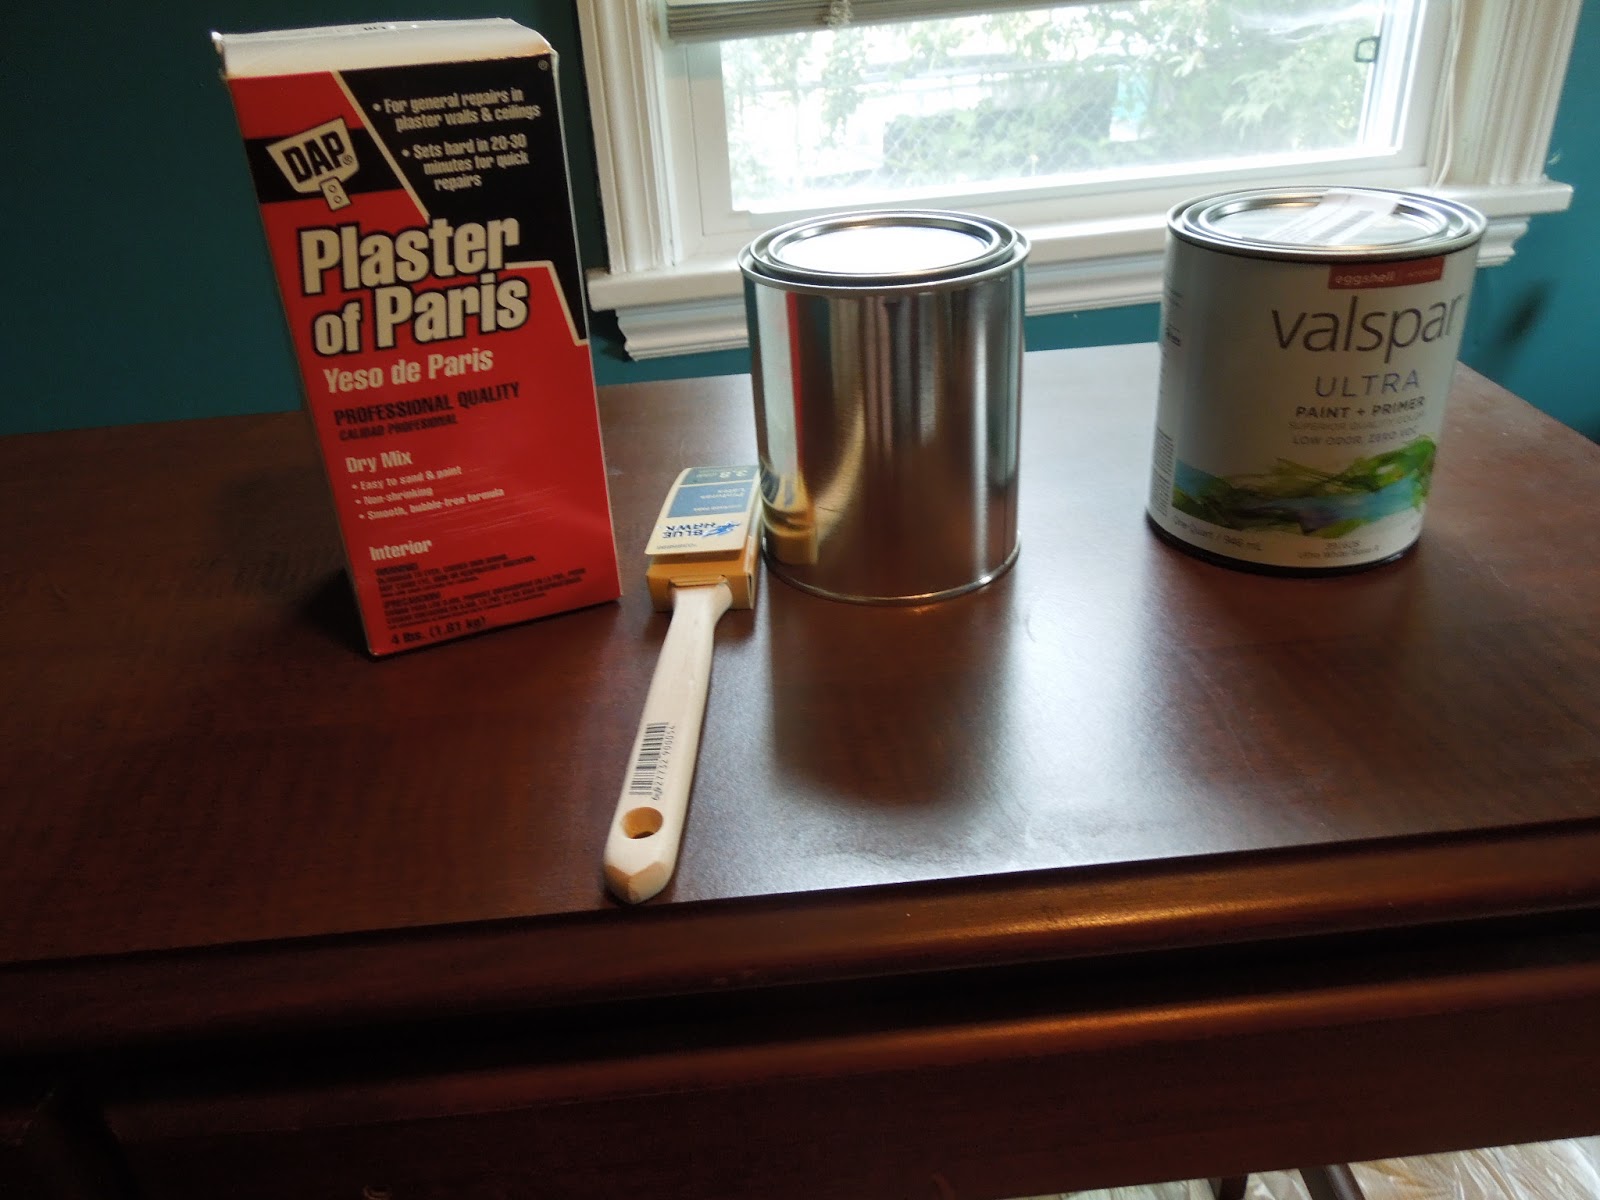
So here is a list of things that you need to get started:
- The item you want to refinish.
- A quart of latex paint, your choice of color
- Mixing quart cans
- Plaster of Paris
- Water
- Hand sander
- Paint brush
- Wooden paint stirrer
- Measuring cups and spoons (ones that you can specifically designate for projects)
- Furniture Wax
- Old rags

Step 1: Clean the dust and debris off of the item so you have flat surfaces to paint on. Remove the hardware.


 Step 2: Make chalk paint if you decided to make it yourself. Now there are many recipes out there to make chalk paint. The one I used called for:
                                 - 1 cup of latex paint
                                 - 2 1/2 Tbsp Plaster of Paris
                                 - 1 1/2 Tbsp of cold water


When I started mixing, it became really hard really fast. So I had to keep adding water a little bit at a time to make sure it had a smooth consistency. I recommend working in small sections at a time. I found it a little difficult to work with and you want to put an even thin coat on. It does dry pretty quickly, and you really have to work it with your brush. You also have to continually stir the mixture so the plaster of paris doesn't sink to the bottom.
                   Once you've applied the first coat and let it dry, you can apply a second coat. Let that dry. If you are happy with that result, you can go onto the next step.


Step 3: Distressing.. This part is actually kind of fun. I basically took the hand sander and distressed around the edges of the desk and on the drawers. If you are really artistic, you can even add stencils in but the way I see it is, the more simple it is, the better it looks. I don't really like furniture when people just make it look busy. I think simple is elegant.


Step 4: Waxing. I have never applied wax to furniture before but it is pretty much the same concept of waxing your car. Some people apply polyurethane to the finished product instead, but after reading up on the pro's and cons of each, I just decided to go with wax. You can just take an old rag, get a little wax on it, and just apply it to the surface. The instructions on the product I purchased said to wait 15 minutes before buffing it. After you buff it, you sand it, and can apply another coat to it. After you are satisfied with that, you can add the hardware onto it.

            I was not a big fan of the original hardware on it, so I decided to go with some really nice antique-y hardware that I am purchasing from an architectural salvage store in the city. They are a little pricey, so I only purchased one so far to see if it would go well so I am going to have to go back and purchase the rest.
Voila! I have taken an old piece of furniture and transformed it into something new for my new office space. Now I just need to finish unpacking! Maybe another day...


Sunday, June 30, 2013

Platform Bed: Part 1

We have had quite a bit of rain the past few days her in the ROC, which has caused some problems for us. With the break we had in it today, we cleaned out all of the junk in our gutters, sealed some of the edges, and noticed the debris sitting on top of the roof. My husband and I have decided that that huge maple tree, as lovely as it is, needs to go. We need to prolong the roof of our house, and to do that, we are going to dig deep into our pockets and have someone come to remove it. This will open our back yard up to a lot of sun and give us piece of mind that it won't fall onto our home or our neighbors home.
We decided that today we would start our next big DIY project to personalize our home. We have decided that the bedroom set that I have had for the past five years will stay in the bedroom downstairs and be our guest bedroom. We are building a king sized platform bed all from scratch to go in our master suite upstairs. It will take a lot of time and patience, and is a little costly, but it's a project that we both can work on together and spend some quality time with one another.
Today we started working on the base. If you are going to undertake this project on your own, I highly recommend figuring out where you are going to put the frame because most of it will need to be built in place.

Materials:
* Six 2x10x8's
* 1 box of deck screws (1" should suffice)
* 12 metal joints
* Foam brushes
* Stain of your choice
* Polyurethane


Tools Needed:
*Miter Saw
*Circular Saw
*Power drill

Step 1: You first need to cut the pieces of wood into the sizes you need. Simple enough. We went ahead and had the fine people at home depot make the cuts for us for the pure fact that we needed to fit it into my accent hatchback to get it home. We had two of the 2x10x8's cut to 69" and the other four were cut to 65". The scraps are going to be used for support beams.


Step 2: Figure out what pieces you want to use that you will see on the outside. These are the ones that you are going to stain. We chose to have a few with eyes and knots to give the piece some character.
             We simply propped them on top of some benches we have in the yard and put paper underneath to protect them. If you have some rough edges, you might want to sand them down a little bit, but the pieces we chose were nice and smooth so I chose to skip that step. Don't shake the stain up before you open in, open the can and stir it. if you shake it, you are going to get a lot of bubbles in the mix and it becomes sort of a pain to use. With a foam brush, distribute the stain evenly to apply a thin coat. The thicker the coat, the longer it is going to take to dry. Let that dry and then you can decide if you want to apply another coat or not. The dry time really depends on the humidity. For the first coat, it took about 2 hours. For the second one, it took about 4 hours. We actually decided to move them onto our side porch because the dry time took longer than anticipated.
                                    

Step 3: Once the stain is dry, apply a coat of Polyurethane. Again, the dry time is really dependent on the brand you use, so closely follow the directions on the can.

Step 4: Assemble. We haven't gotten this far because we are still waiting for everything to dry but I will be updating this section when we start to build it.

Cost of materials for base only:
$100.00

Wednesday, June 19, 2013

Finally!

We have been in our new home for almost 2 weeks and as much as I would like to say we are loving every moment of it, I am close to being a dead person I am so exhausted! We closed on the house on the 7th and it was raining every single day we had to move. We spent 2 entire days moving everything, then spent that entire Sunday cleaning our old house and moving over the last of the little stuff. The hubby took a few days off of work to work on things that need to get done so we can actually live in the house. Gutters were overflowing with debris needing to desperately be cleaned out. He moved a washer and dryer into the basement. Demo'd a large concrete laundry tub and installed a new lighter plastic tub and the list goes on.
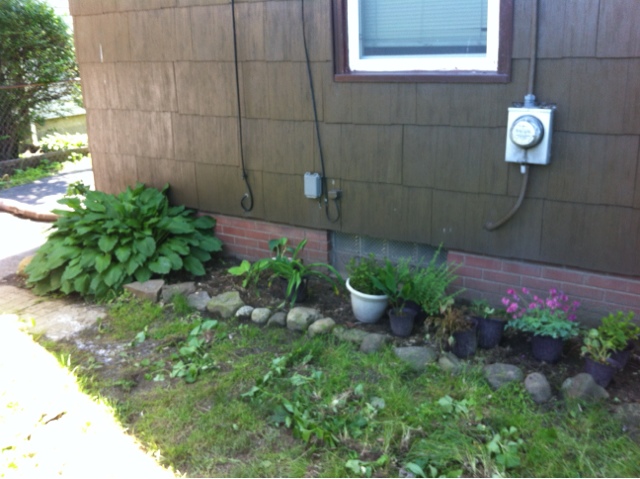
With my job and hours, the first day I was able to do anything was on Saturday after work. I'm sure you can guess what my first project was... GARDENING! I was so excited to get my hands dirty! The previous owner had lined gardens with these wonderful rocks, which gives the backyard a natural feel.
I spent quite a bit of time weeding out a lot of unwanted plants.

We brought some of our plants over from our old house because I just couldn't seem to part with them.
 
I found out very quickly when I was digging holes to plant everything was that the roots from the enormous maple tree in our backyard were going to prove to be quite the challenge.

I was able to recreate my old garden but was able to add new components. Instead of using red mulch as I had in my previous gardens, I decided to go with black mulch this time around.


I transplanted different types of Hostra that were on the property to fill in my garden a little bit.


And voila! 
Total Project Time = 3 hours
Total Project Cost= $115.00