So here is a list of things that you need to get started:
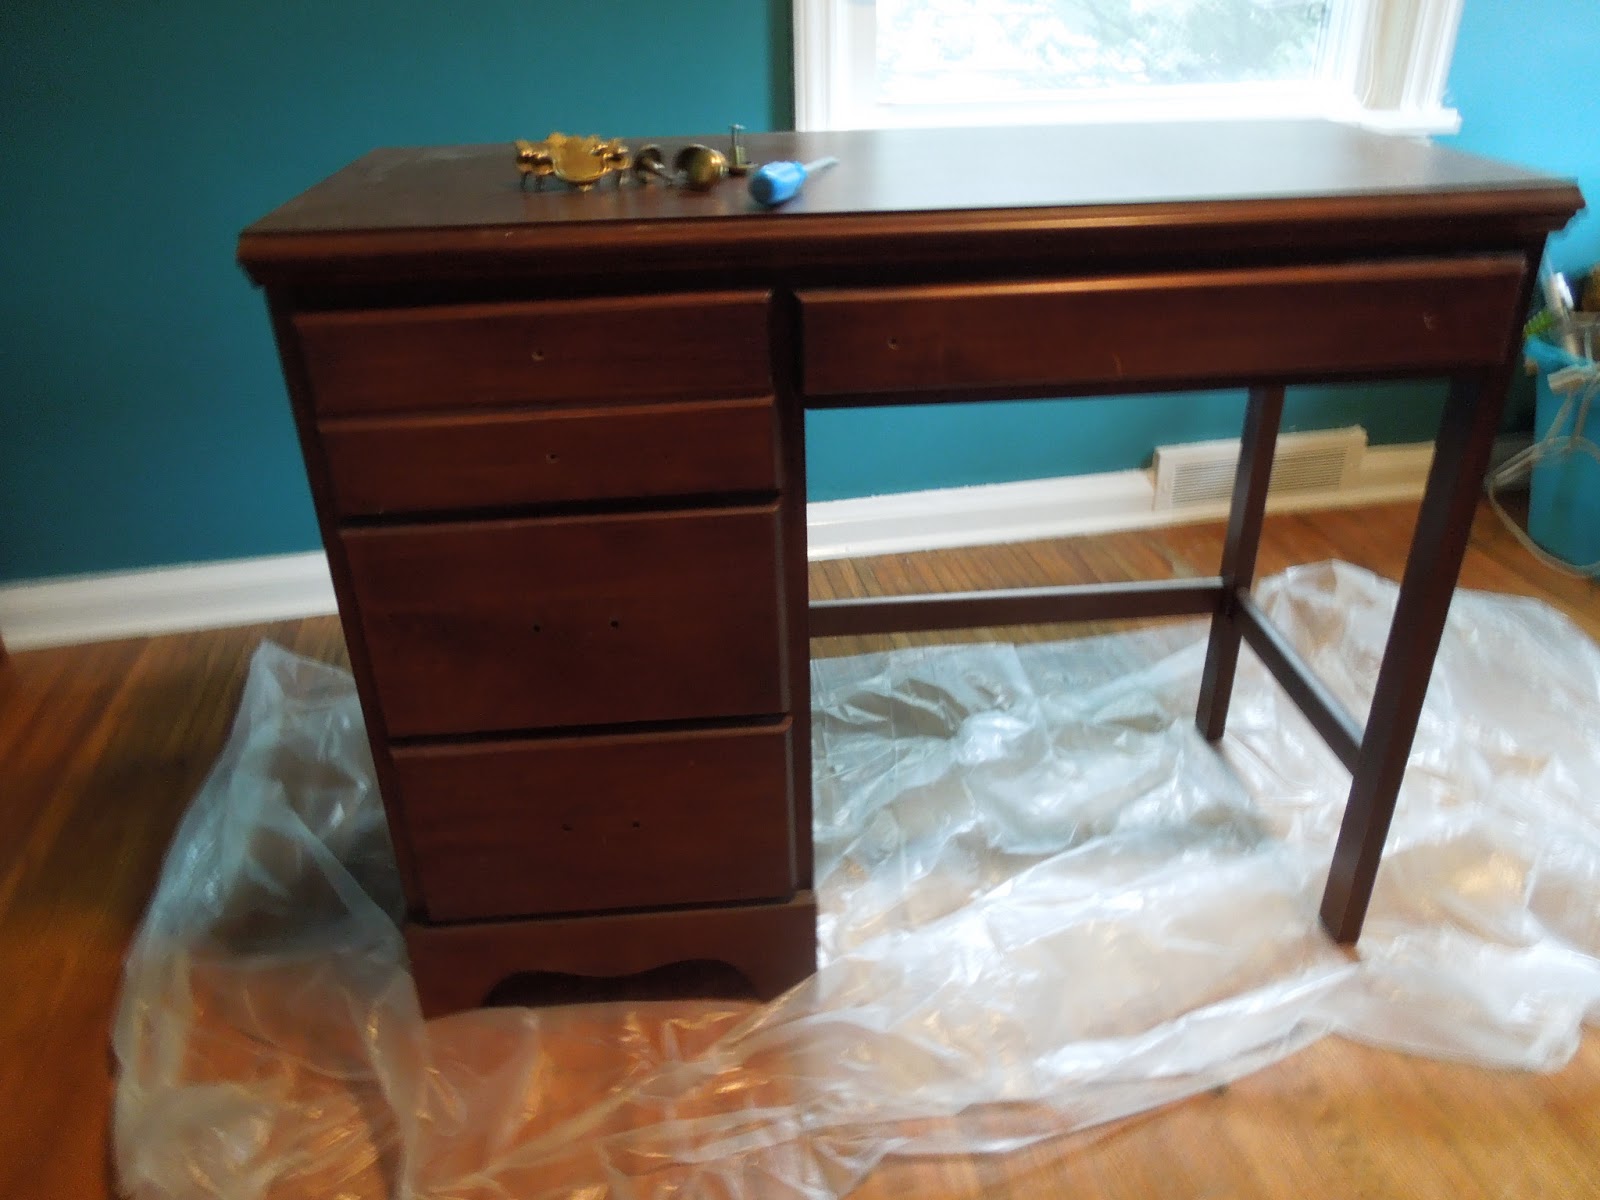
- The item you want to refinish.
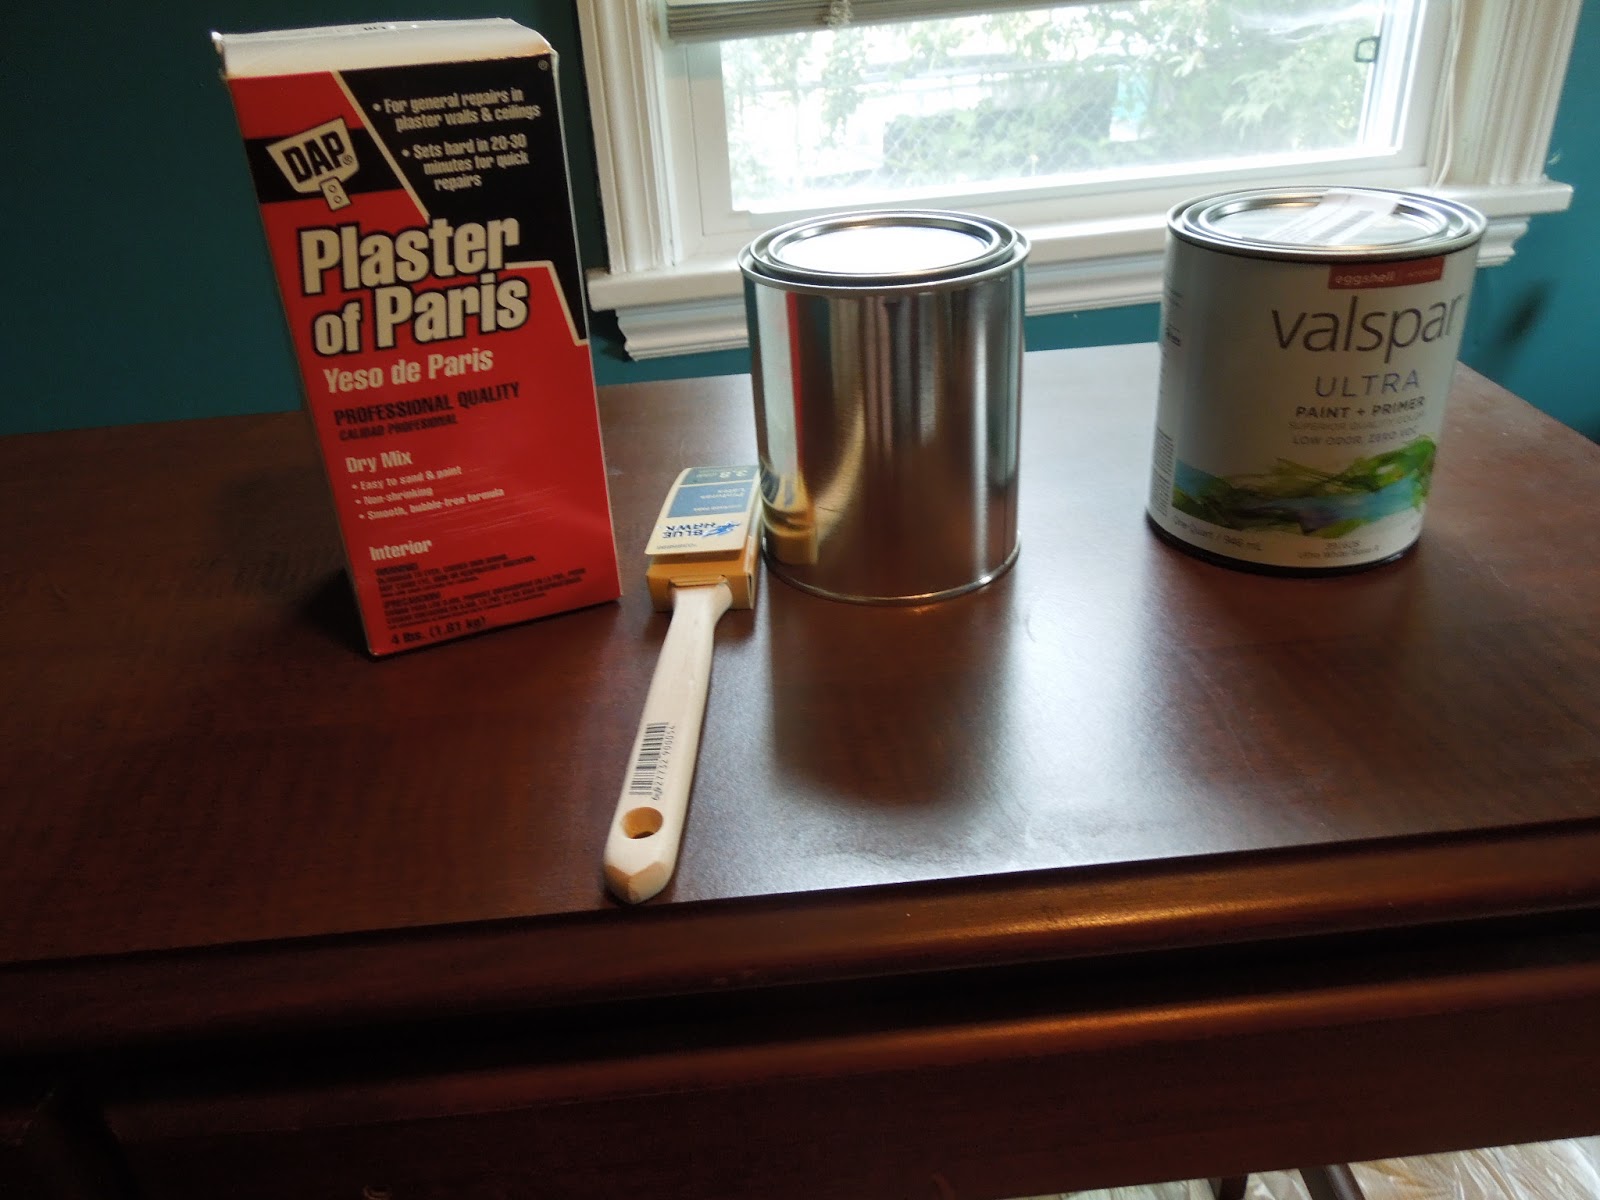
- A quart of latex paint, your choice of color
- Mixing quart cans
- Plaster of Paris
- Water
- Hand sander
- Paint brush
- Wooden paint stirrer
- Measuring cups and spoons (ones that you can specifically designate for projects)
- Furniture Wax
- Old rags
Step 1: Clean the dust and debris off of the item so you have flat surfaces to paint on. Remove the hardware.


- 1 cup of latex paint
- 2 1/2 Tbsp Plaster of Paris
- 1 1/2 Tbsp of cold water
When I started mixing, it became really hard really fast. So I had to keep adding water a little bit at a time to make sure it had a smooth consistency. I recommend working in small sections at a time. I found it a little difficult to work with and you want to put an even thin coat on. It does dry pretty quickly, and you really have to work it with your brush. You also have to continually stir the mixture so the plaster of paris doesn't sink to the bottom.
Once you've applied the first coat and let it dry, you can apply a second coat. Let that dry. If you are happy with that result, you can go onto the next step.


Step 4: Waxing. I have never applied wax to furniture before but it is pretty much the same concept of waxing your car. Some people apply polyurethane to the finished product instead, but after reading up on the pro's and cons of each, I just decided to go with wax. You can just take an old rag, get a little wax on it, and just apply it to the surface. The instructions on the product I purchased said to wait 15 minutes before buffing it. After you buff it, you sand it, and can apply another coat to it. After you are satisfied with that, you can add the hardware onto it.

I was not a big fan of the original hardware on it, so I decided to go with some really nice antique-y hardware that I am purchasing from an architectural salvage store in the city. They are a little pricey, so I only purchased one so far to see if it would go well so I am going to have to go back and purchase the rest.

No comments:
Post a Comment