Pages

Monday, February 10, 2014

Say hello to our new bathroom sink!

My goal is to try to post after each day we complete work on the bathroom. I had a lot of fun this weekend getting back into my groove and then I realized when I first woke up this morning why we don't do this much anymore lol.
After sanding and prepping the surface the day before, It was time to add the primer.
                                                   And added a second coat of primer....
As you can see, even sanding didn't really do a great job hiding the imperfections, which is going to make painting quite an interesting job...I will have to research my options..so for now, I am just leaving it as it is for now...

My next step was to go through the big pile of cedar boards we pulled down from the prior day and pull out the ones we can re-purpose. I pulled all of the nails out and started applying a first layer of primer to each board and let them dry.
     And then I applied a second coat of primer. After they dried, I applied the first coat of paint. While that was drying, I went to go check on my hubby to see his progress.

So he managed to remove all of the wall tiles in this section, removed the heat register, and got rid of the awful pedestal sink. Well, we didn't get rid of it..it's siting in the basement for the time being, we are thinking of adding a half bathroom downstairs if and when we eventually remodel the basement.
 First panel of chair rail up to create a natural border.
  Slowly and carefully install each panel. This includes applying adhesive to the first one and then using special concrete screws.
Looking better already!
                                                                    New sink in place.
                                                      Modern, bronze finished faucet.
       When all of the panels are in place I will cover up those screws and apply another coat of paint,   but for now, I think I can handle this new look over those dreaded wall tiles.
                                Floorboard molding..I guess the flooring doesn't look all that bad...

Well, that was enough work for one day. The rest will have to be pulled out and worked on in sections. I think the biggest and most time consuming part of this whole project will be to pull the same ugly wall tile down that is in the shower, and replace it with more modern glass subway tile.
So tell me what you think. Any ideas for painting a textured wall like we have in the bathroom?


Saturday, February 8, 2014

It's a Bathroom Demo!!!

Not that the winter months are gloomy enough, welcome to our bathroom. You've seen pictures of it before when we first bought the house. How do my husband and I bond? We start ripping apart things that seem like they may be an easy fix to find that the work is more extensive. This turns into frustrations, which turn into arguments. But I have to say, we've gotten to a point in our relationship where one of us just walks out of the room for a few minutes to cool down. Welcome to an adult relationship.

Ok, so the tile on the floor isn't all that bad. I can live with or without it but notice the tiling on the walls, which extend all the way throughout the bathroom and even in the shower. It's dull, it's boring, and its a pain in the butt for me to clean.
The wood on the ceiling? Ok, we can handle that. It's actually quite nice, giving the room a spa like feel but the cedar extending on the top part of the bathroom? Who does that? It makes the room dark and dank and it's not even sealed. So every time we take a shower, moisture gets trapped in them creating mold and mildew. I don't know about you, but I don't really want to be breathing that stuff in any more than I have to.
I do have to say I was quite afraid of what we would find underneath those panels.
Luckily, we aren't putting our house on the market in one month like the last one so we don't have to rush, we can do everything right aaaand we get to choose fixtures that we like.
Our goal? Add a little more light and appeal to our only bathroom to not only increase the value of our house, but make it a little more welcoming when we have guests over.
Soooo..here goes phase 1:
 Remove first layer: cedar wood paneling. Oh, look how pretty that is, NOT! Who chose this wallpaper? And look at the yellow staining on it. no wonder they just chose to cover it with wood paneling.
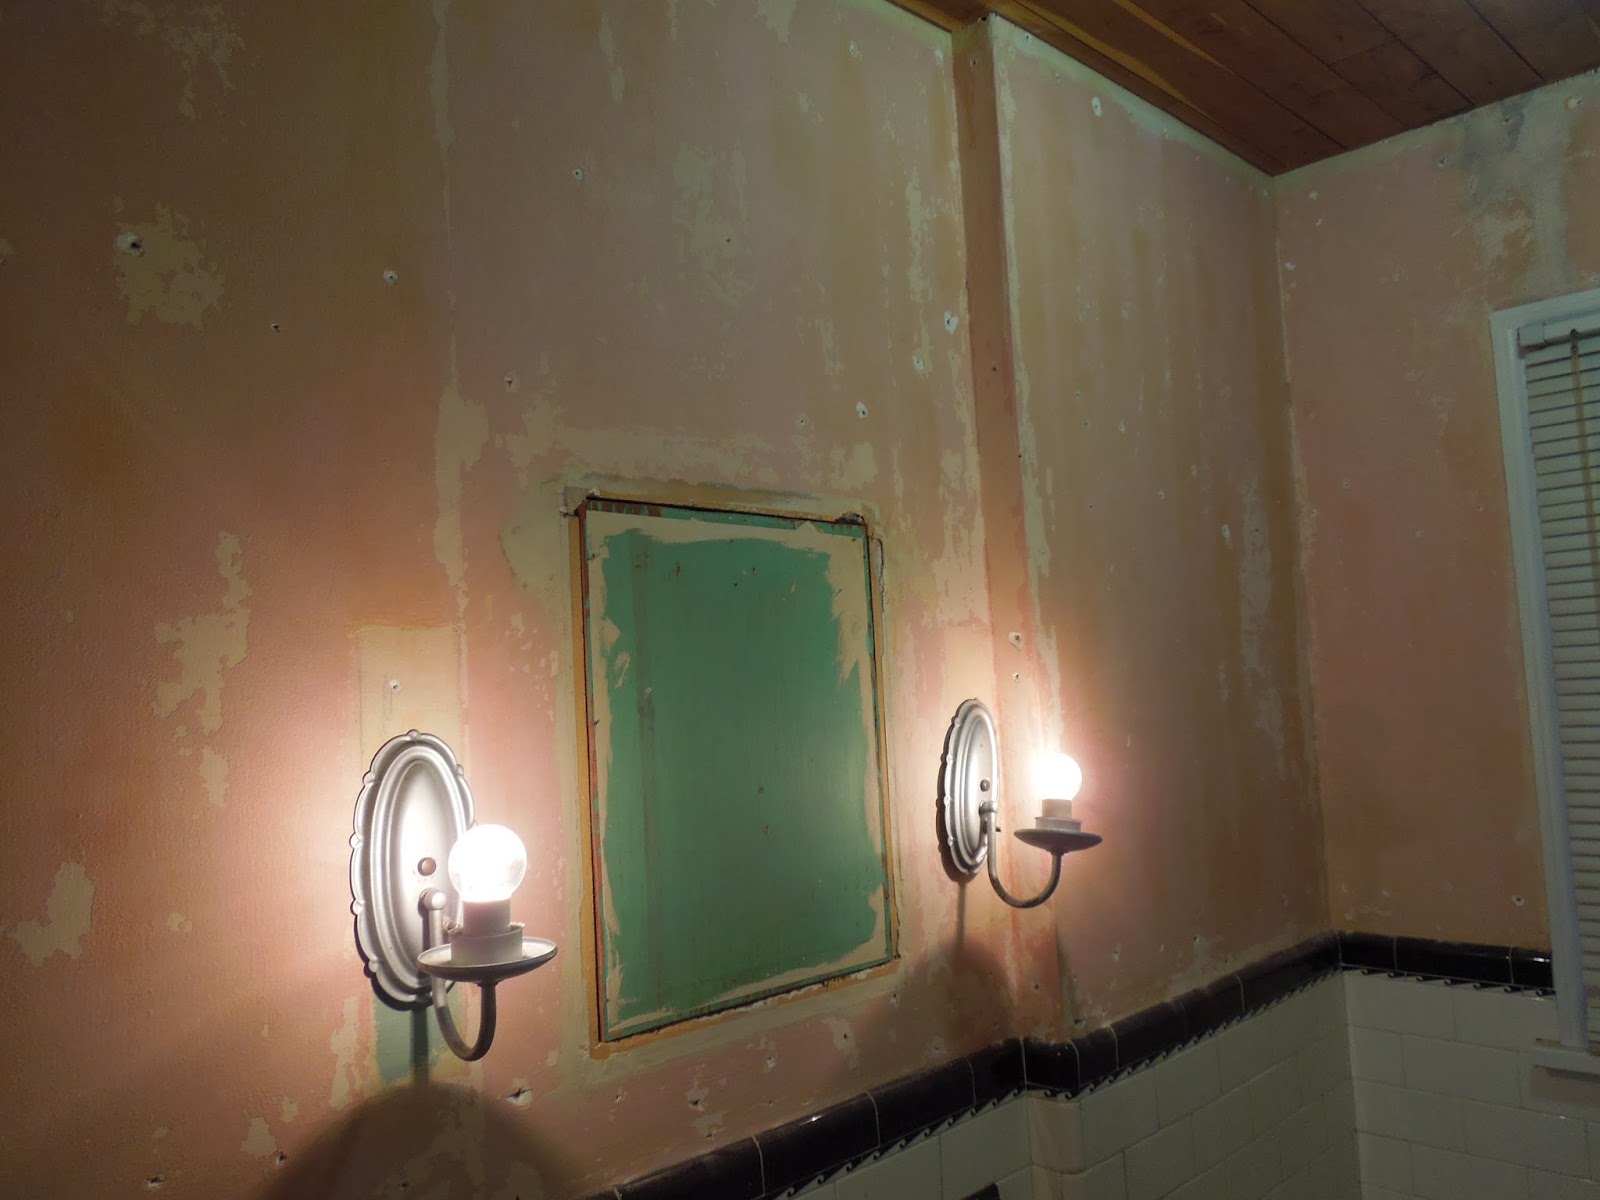
After removing the wallpaper, we discovered the wall is plaster and where the mirror was was a blocked off area where I'm guessing a medicine cabinet had been before. We were kind of hoping to find some secret treasure especially since in our last house after knocking out a crappy built in bookcase we found a bunch of creepy childrens toys and vhs tapes..but of course we weren't that lucky. 
Now our bathroom looks even creepier than before...It looks like a room out of a really sketchy cheap hotel room.
Next, we pulled the remaining nails out and lightly sanded. Then came the spackling. Than the sanding. And then more spackling...and more sanding.
We put one coat of primer up, removed some of the wall tile to see what was behind it, and are calling it a day.